

A Step by Step Guide on How to Wear a Sari
What is a Saree?
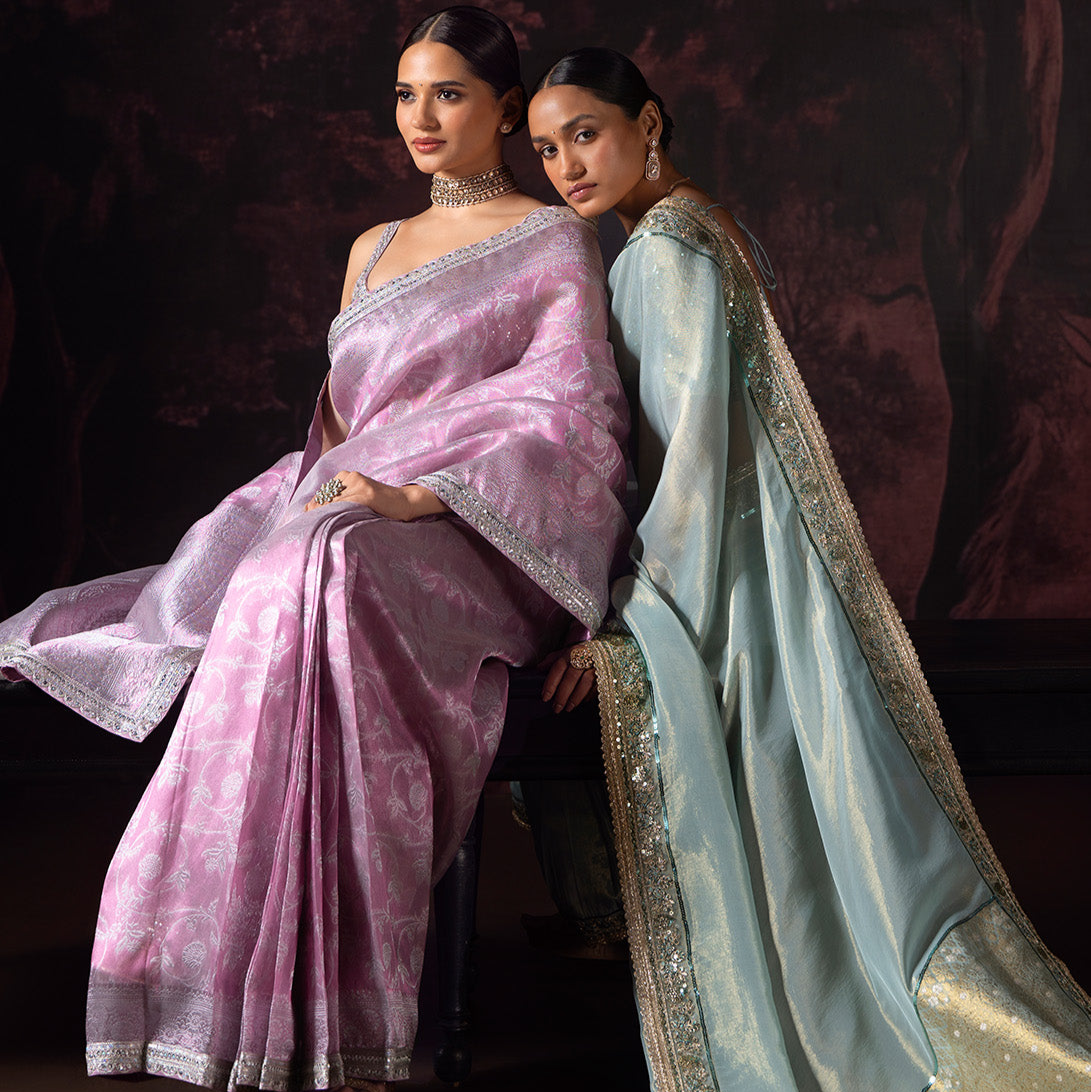
A Saree, an ode to the Indian tradition and culture, is a four to nine yards long fabric with one end tucked around the waistline while the other end (commonly known as the Pallu) seamlessly draped over the shoulder.
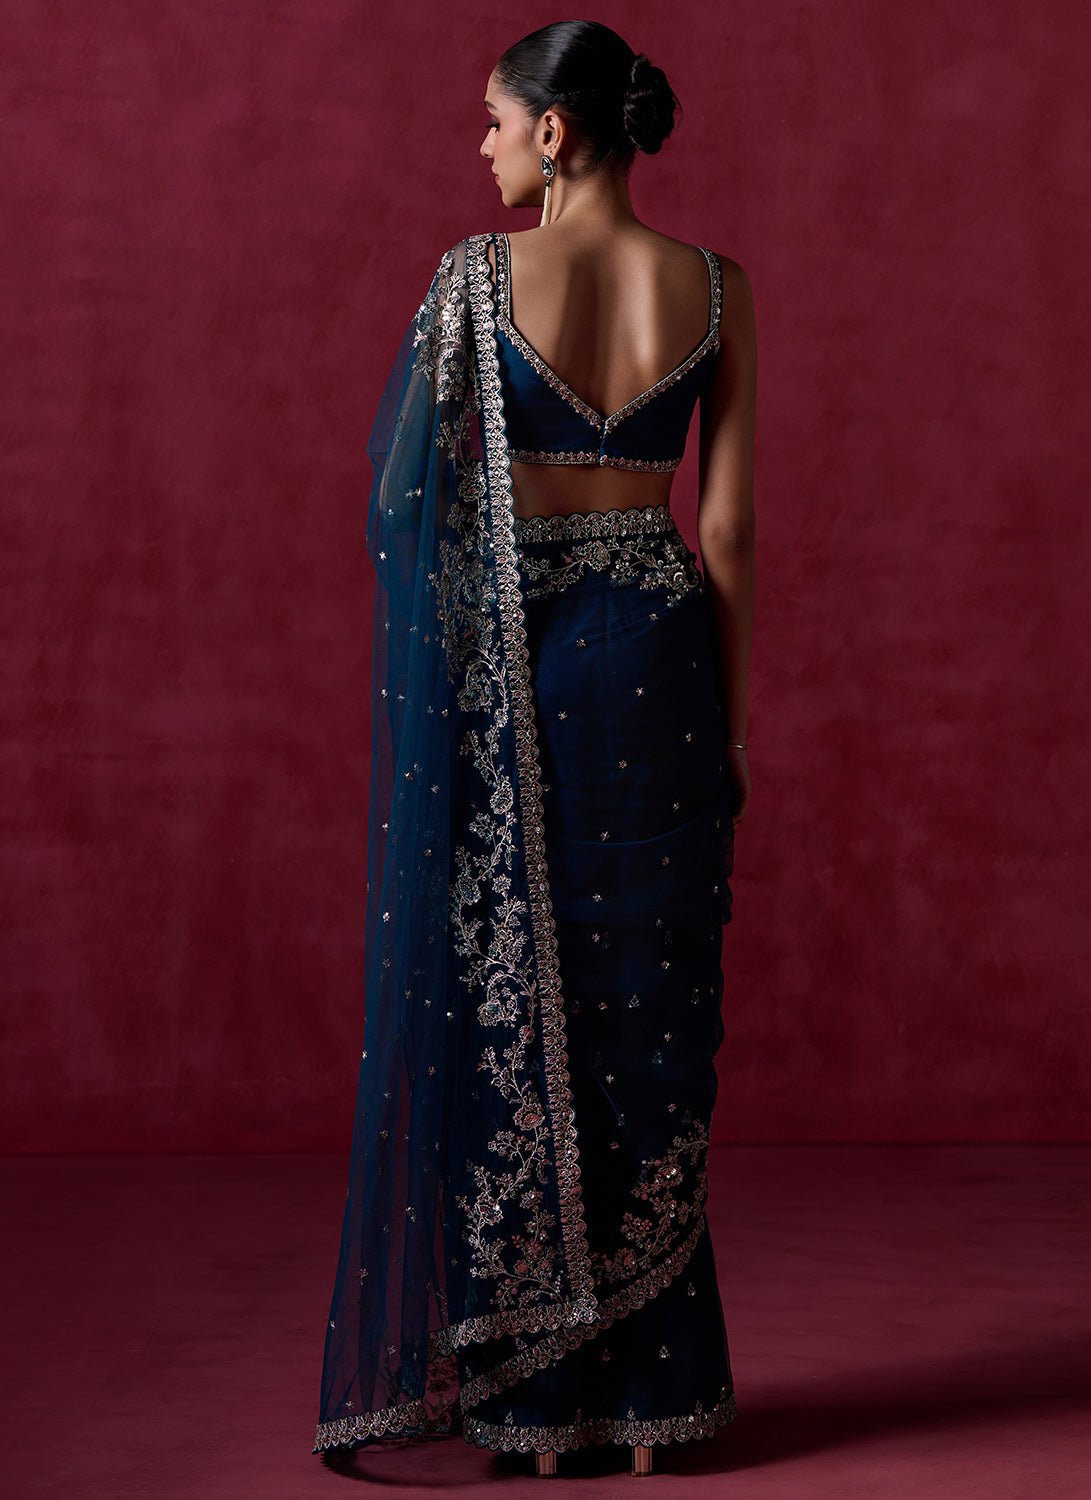
Parts of a Saree & What to Wear Under a Saree
A classic Indian Saree is traditionally paired with two garments: a petticoat and a blouse. The petticoat is a skirt-like undergarment tied around the waist by a drawstring. The color of the petticoat must be perfectly matched with the base color of the saree. The blouse style must be a perfect fit, ideally ending just below the bust and exposing the midriff.
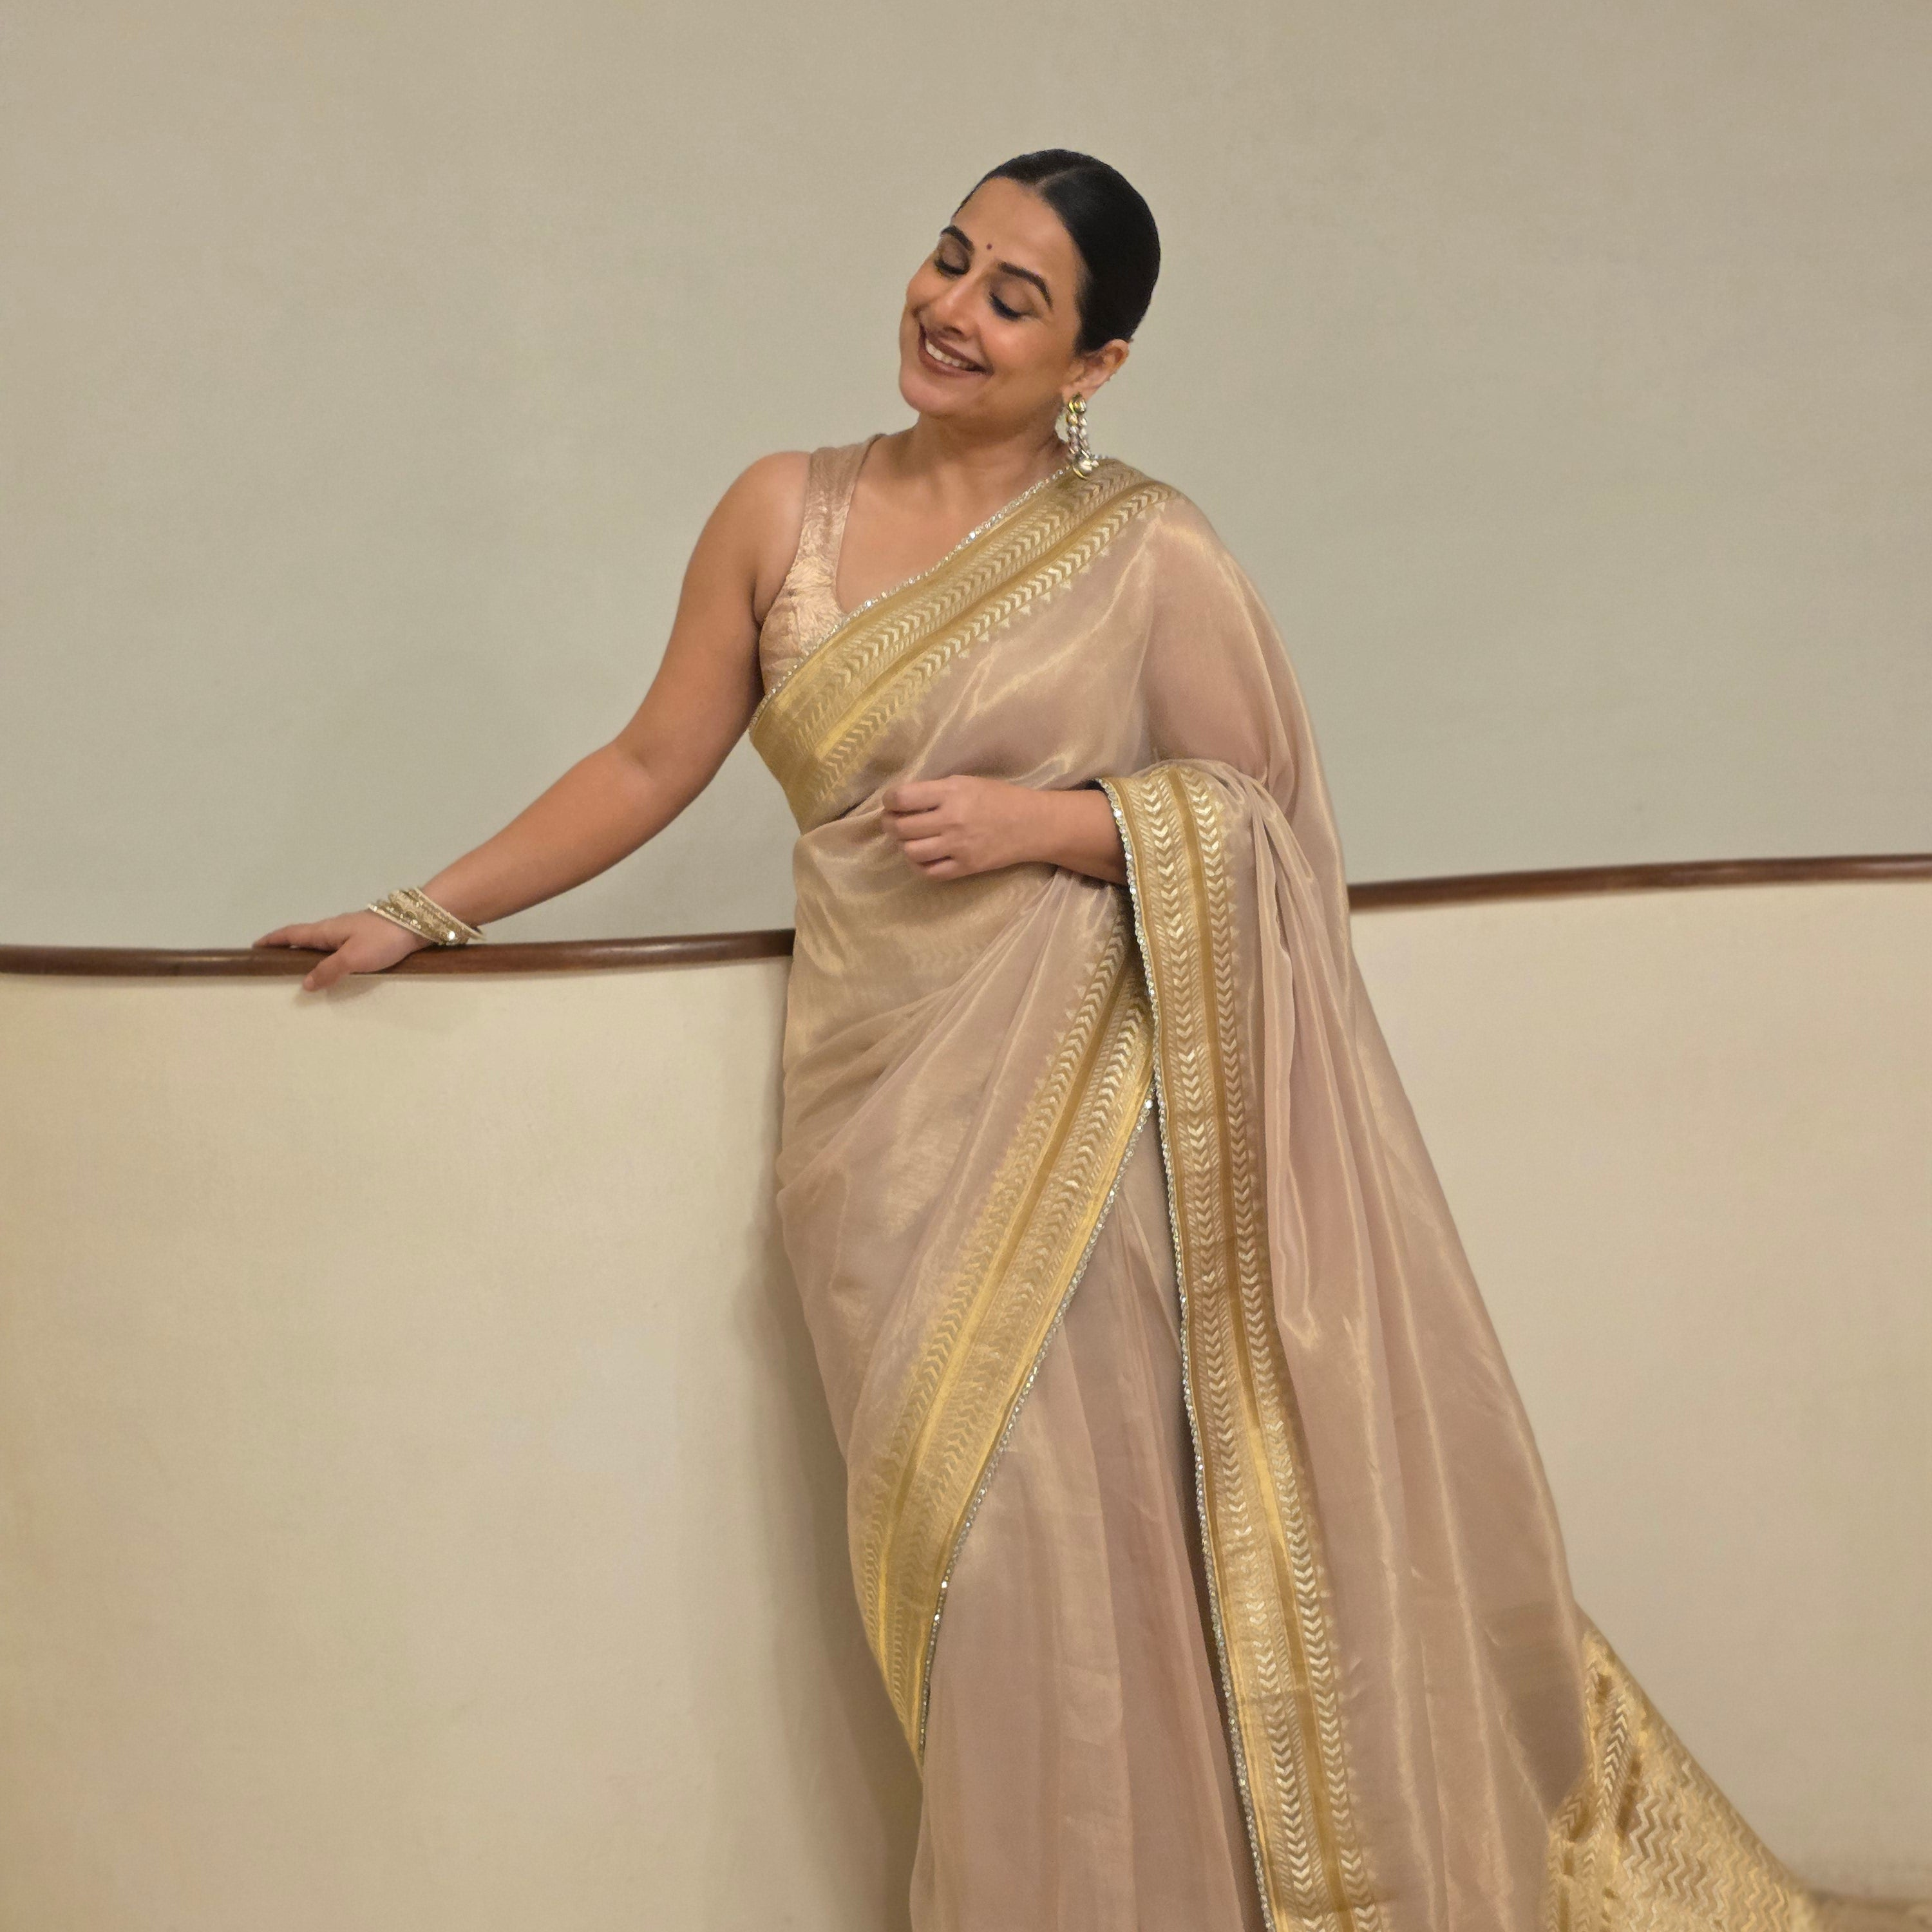
From Bollywood divas to the average Indian woman, this 6-yard piece of unmatched panache is the wardrobe essential that every Indian woman owns. However, as the most commonly worn attire in India and around the world, draping a Saree is an art only a few can master. So if you are struggling with how to drape a sari like a pro, don’t fret, as we are here to guide you to learn this ethnic diva life hack in just eight simple steps.
How to Wear a Saree Step by Step

Step 1: Adjusting the Saree Around the Petticoat
Before you begin the entire saree-tying process, wear your blouse and petticoat, and make sure you have all the essentials, such as safety pins, high heels, and accessories, with you. Once done, tie the top corner of the plain end of the saree into a knot and fold the knot into the petticoat at the left side of the navel. If you are wearing an embroidered saree, make sure the embroidery faces out when tying the knot. Now take a complete 360-degree turn while swaddling the saree from left to right, ensuring that the lower end of the saree is just off the ground. Tuck the saree neatly around the waist.
Step 2: Making and Assembling the Pleats
This is probably the most crucial and tricky part of draping a saree. Hold the extra fabric of the saree between your thumb and index finger. Starting from the tucked end of the saree, make around five to seven pleats by winding the fabric from the thumb to the index finger. Each pleat should be four to five inches wide. Assemble the pleats so that all fall straight and evenly just above the floor.
Step 3: Tucking the Pleats
Now, tuck the pleats into the petticoat neatly, adjusting the pleats slightly to the left of the navel. Make sure that the pleats open to your left for a complete look.
Step 4: Pin it Right
In order to make sure that your pleats stay exactly where they are meant to be, use a safety pin to keep your saree from scattering. Match the color of your safety pin to your saree so it blends easily into the overall look and doesn't stick out like a sore thumb.
Step 5: Drape and Wrap
Drape the extra saree around your hips from left to right while holding the top end of the fabric.
Step 6: Styling the Pallu
This is perhaps the most decisive factor when wearing a saree, as the entire look depends on how gracefully you carry the pallu. A pallu is the decorative end of the saree that falls on the shoulder. It can be styled in a variety of ways, depending on the design and personal preference.
Step 7: Adjusting the Pallu
You can pleat the pallu by pinning it to the shoulder, or keep it open. No matter how you style your pallu, make sure you carry it comfortably and seamlessly for the perfect look. If you want your pallu to flow openly, then simply drape the pallu over your shoulder and let it fall gracefully over your arm. You can pin the pallu at your hip to keep it from slipping or falling.
This little hack also allows your arm to move freely without any hassle of carrying the pallu at all times. For a pleated pallu, you have to make seven to eight vertical pleats in the saree. You have to pleat the pallu evenly and neatly, making sure that the end of the saree falls below the knees. You can also unfold a few pleats to lengthen the pallu.
Step 8: Pinning the Pallu
All you have to do now is carry the pleated pallu to your shoulder and pin it to your blouse from inside. If you don’t want your pallu to stick out awkwardly, make sure to pin it at the back of the blouse and not the shoulder. This helps in creating a more composed silhouette, flattering you from every angle.
Complete the Look
With these eight easy breezy steps, you can shine like the diva that you are in the saree of your dreams. If you have a knack for experimenting with ethnic designs and styles, you can choose from a number of Indian saree styles, ranging from Gujarati to Maharashtra to Tamilian to Bengali.
To complete the perfect glam look, you can adorn your saree with high heels and accessories of your choice, including matching earrings, bangles, and bracelets. A brooch on the shoulder is always the best choice for a regal and sophisticated look. Now, to top it off, add the final touches to elevate your look by styling your hair and applying makeup.
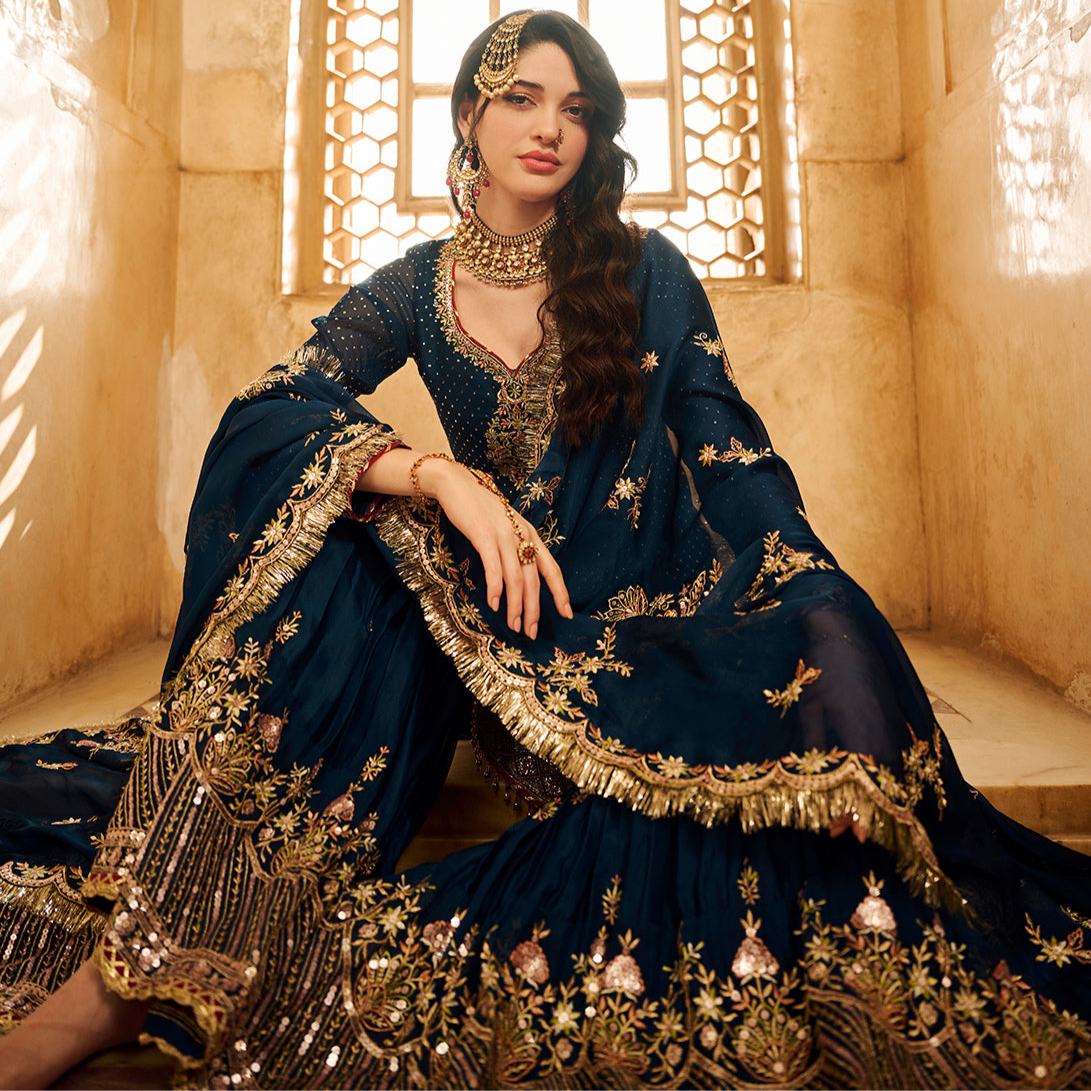
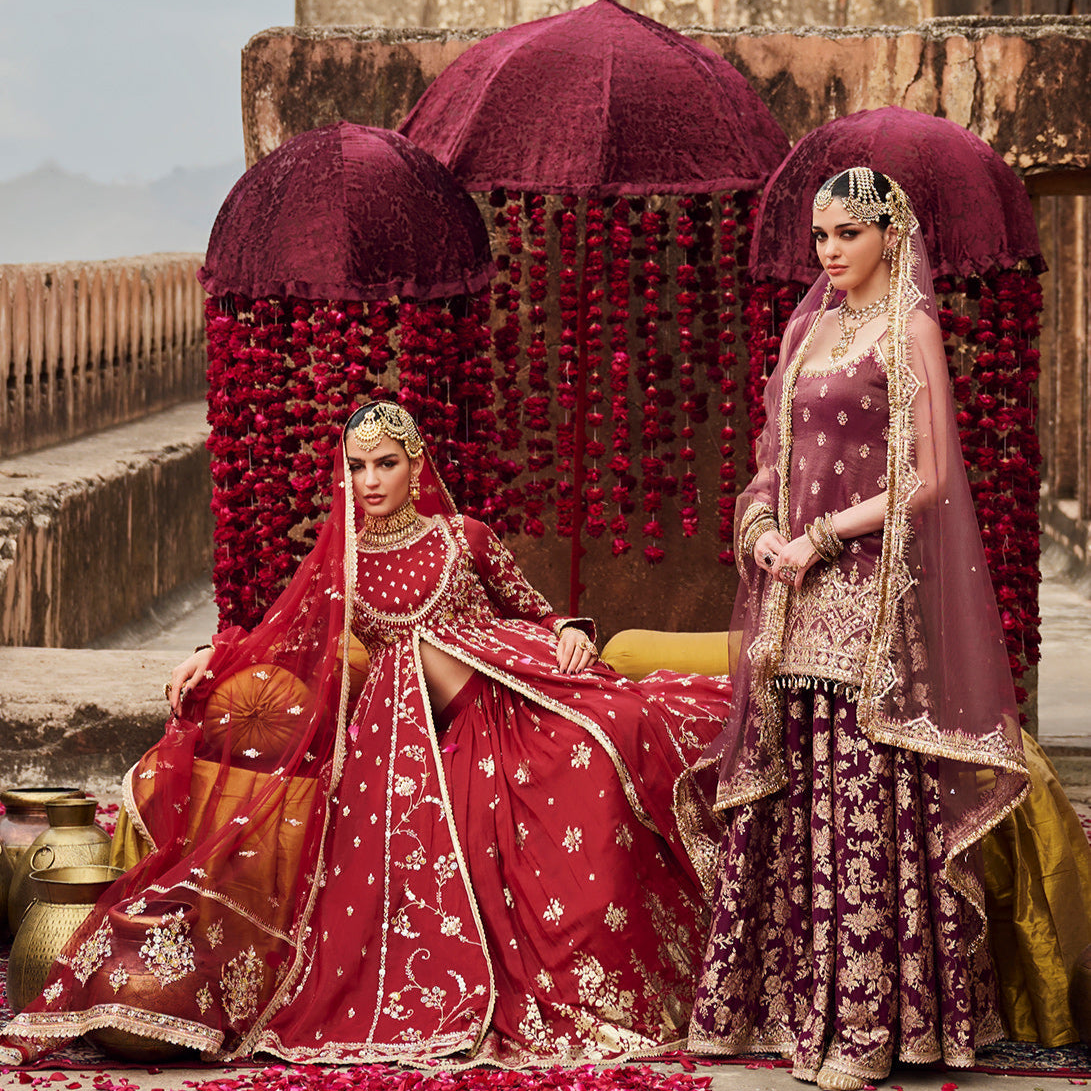
A Saree for Every Occasion
A saree rules the wardrobe of every Indian woman. Available in a variety of styles and materials, a saree can take you from desk to dinner without changing your outfit. From cotton to chiffon to net to jacquard to banarsi and so much more, there is a saree look for every woman and every occasion.
Shop Lashkara's Women's Collection


